
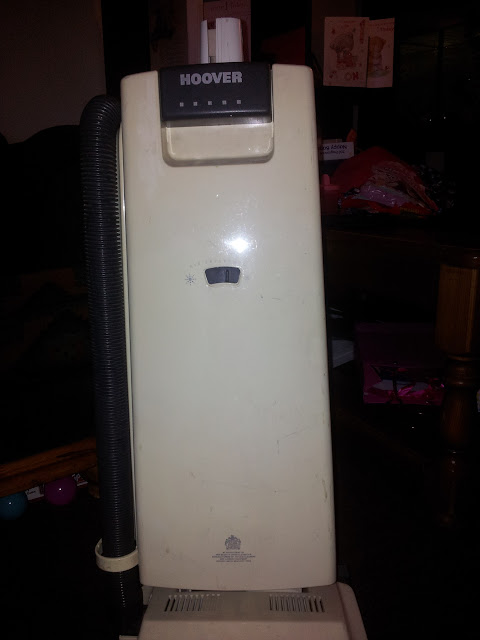
Hoover Turbopower Boost U2716
This poor machine had been in my garage for far too long, so I decided to get it cleaned up, then packed up into storage! It's a bit creaky, and the plastic is starting to perish in places, so before it was too late, I rescued it!


The handle was removed so it didn't snap off in the boot of the car bringing it home!

No idea if this was an air freshner or a piece of cardboard. Either way it went in the bin!

I took the bag door off first. A gentle twist with a flatblade screwdriver and the catches popped out


The main bit of damage is to the innder bag door skin.

The fading in colour and dirt is evident under the bag door release

Can get to this little lot easier now!

Both sides of the bag door catch

The bottom moulding and bag door clips are removed, and put aside for washing. The bag fill tube and wiring cover is also removed.


I then removed all the wiring from the top half.

Removed the tool holder (and found more damage)


Upper cord hook assembly unscrews

With the top half done, it was time to flip it over and start at the bottom.

Baseplate off

Under the hood showing the colour it is supposed to be!

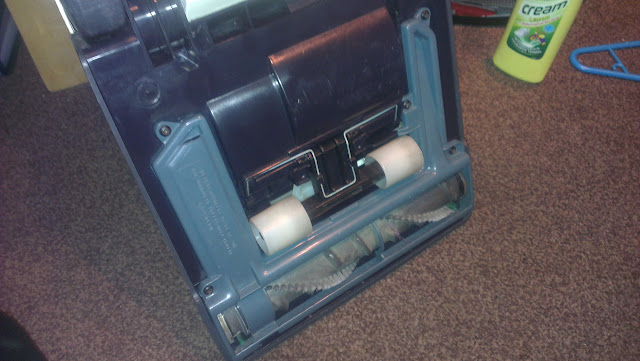
The suction diverter for the tools

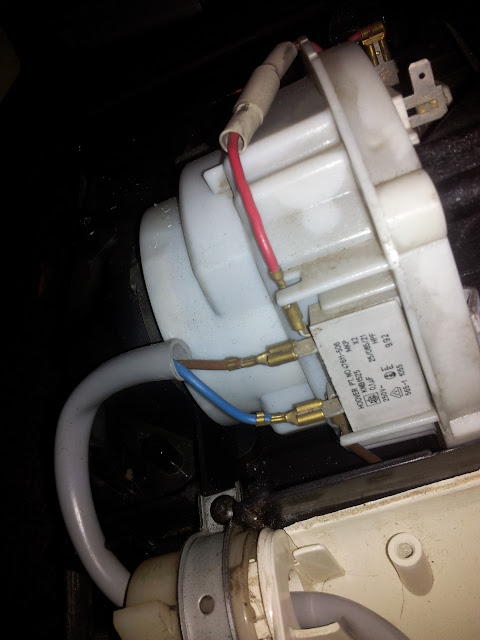
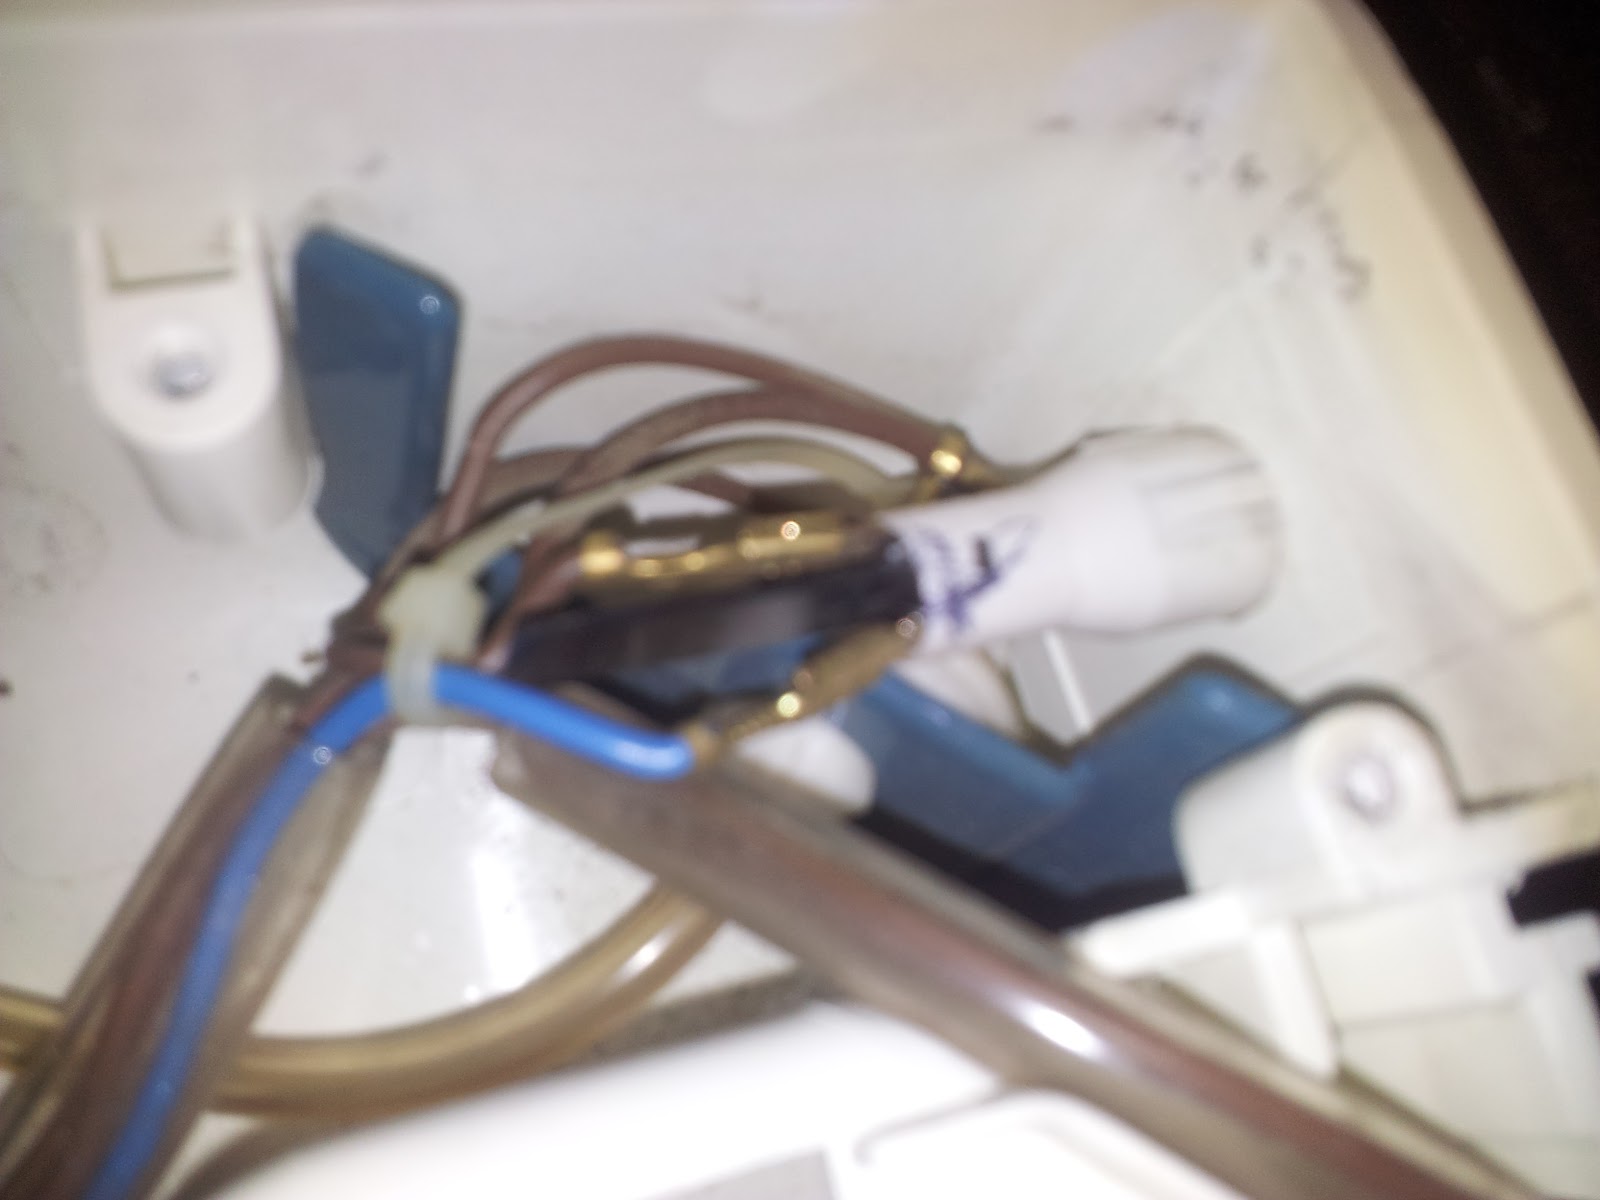
Wiring location for refrence

And finally all the wires can be disconnected and removed

Lifted the motor out next

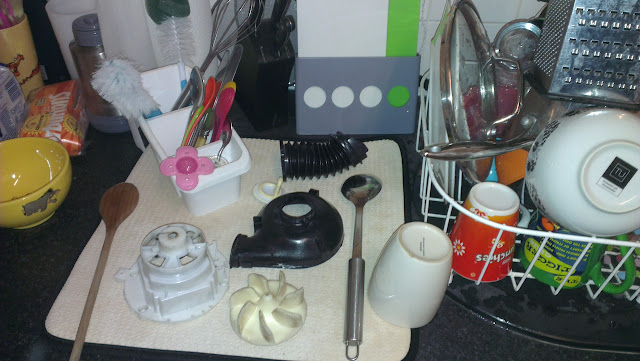
And got a nice big pile of parts to wash!

All the screws and fixings labelled for re-assembly

The old hinge pivot. I had a better condition one in the garage, so swapped them over. It doesn't lean back as much now!

I also tried to remove the hose carrier but the bottom screw is stuck, and chewed the head up trying to remove it so left it alone
With everything washed and dried, I gave the hood a good polish

And a good coat of Wax!
Motor Next!
Fan chamber off
The fan is in good condition
Stripped the motor down, refrencing which way round the spring washer and oil ring go!
The top of the armature was packed with crud, and accounted for the rubbish performance of the machine
Much better!
The carbon brushes were also surprising! Found a spare one to replace the very worn one
And all washed up and drying.
After a polish and wax, the fading is very evident on the back
But shines deeply and looks ok when the tool holder is on
The motor was re-assembled, bellows attached and put back into the bottom chassis
Like a big jigsaw puzzle!
Chassis now nice and clean
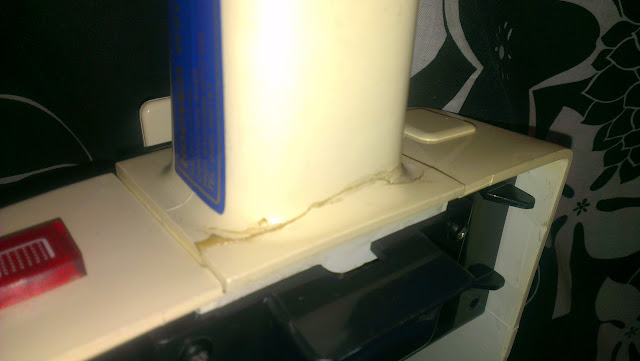
All back together now, and I went around with glue, and dribbled it into all the cracks so it soaked in and held them together
Looking much happier
Had to use more hardcore adheisive for the bottom of the bag compartment
This was like it when I obtained the machine, and works well so leftit well alone!
Found a few pieces to re-glue but sadly much is missing
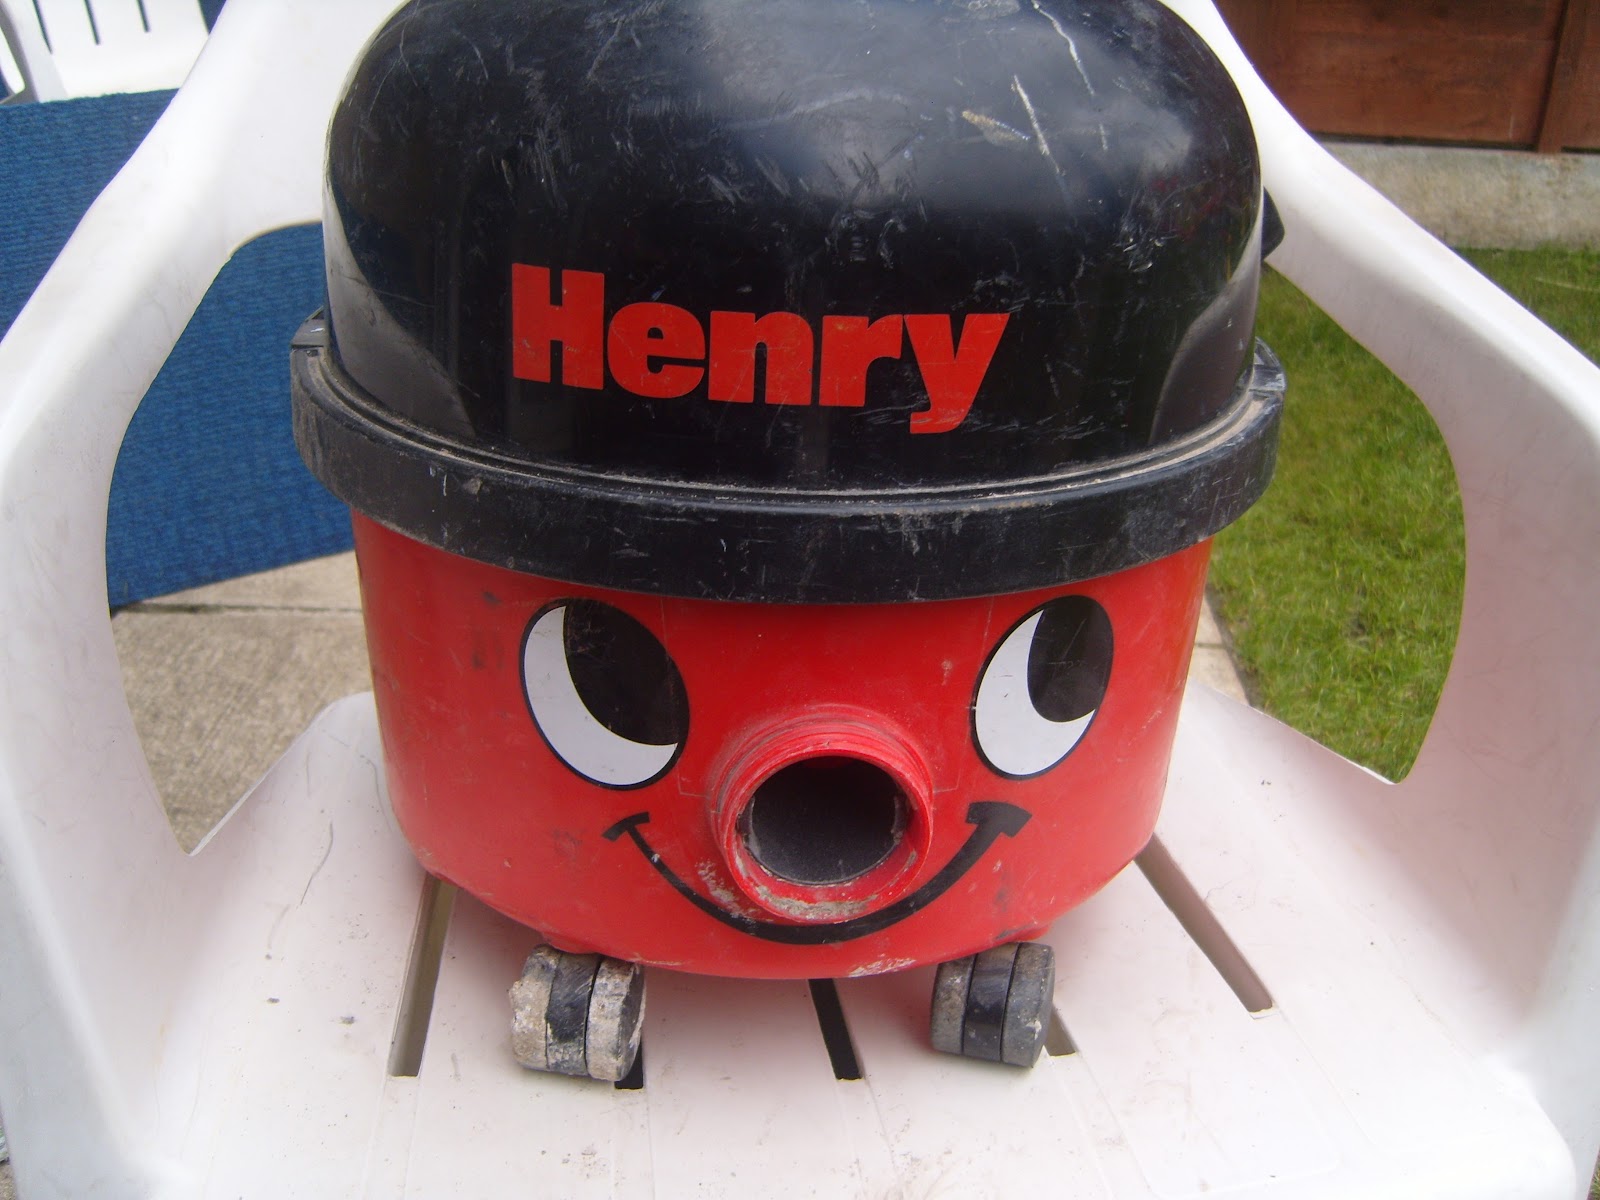
And all done! Pictured with my U2604 with their headlights competing for glow!


Comments
Post a Comment