
Restoration - Hoover Turbopower Junior U1220
I acquired this little gem from ebay for 99p a few months ago. A short drive was needed to collect it, and in doing so found out that this cleaner had been bought by the gentleman selling it's Mother. He seemed quite pleased and confused when I said that I collect Vacuum Cleaners, and that I would be stripping her down and re-building it as new.
This was done a few weeks ago now, so apologies for any date gaps!
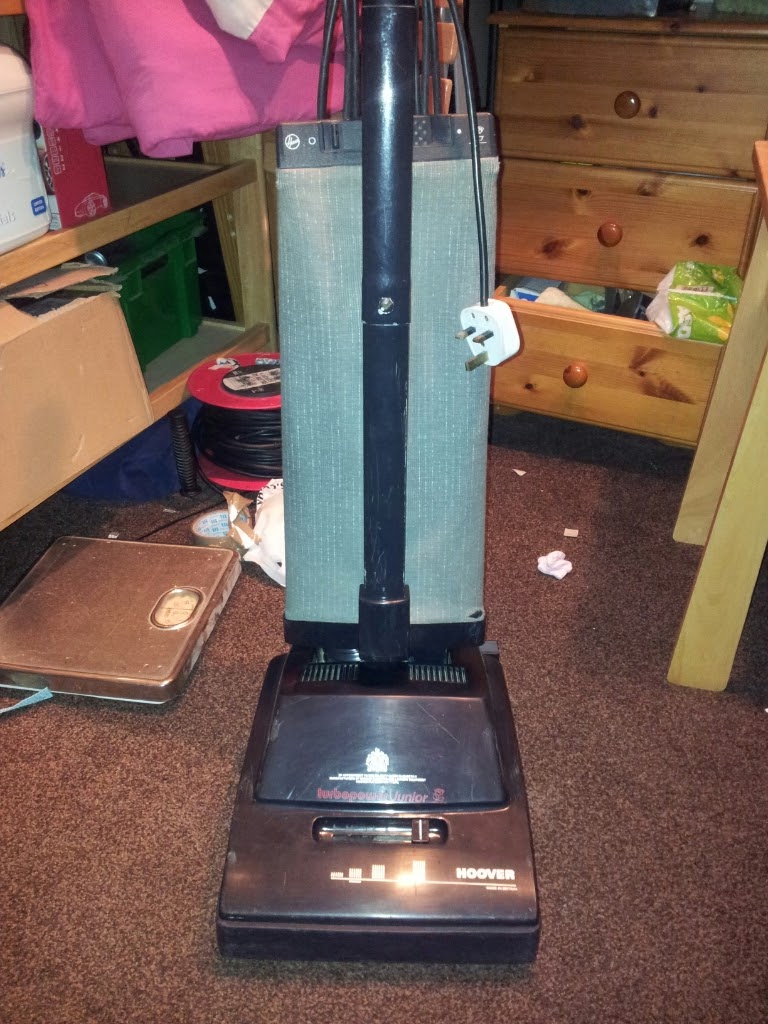
As I collected her:


This was done a few weeks ago now, so apologies for any date gaps!
As I collected her:
Pictured with my Plus.
The stripdown begins
Remove the 4 screws on the base-plate
And remove the base-plate itself!
Signs of damp
Slight damage here but nothing too concerning
Activator was removed
Brushroll was split and cleaned up
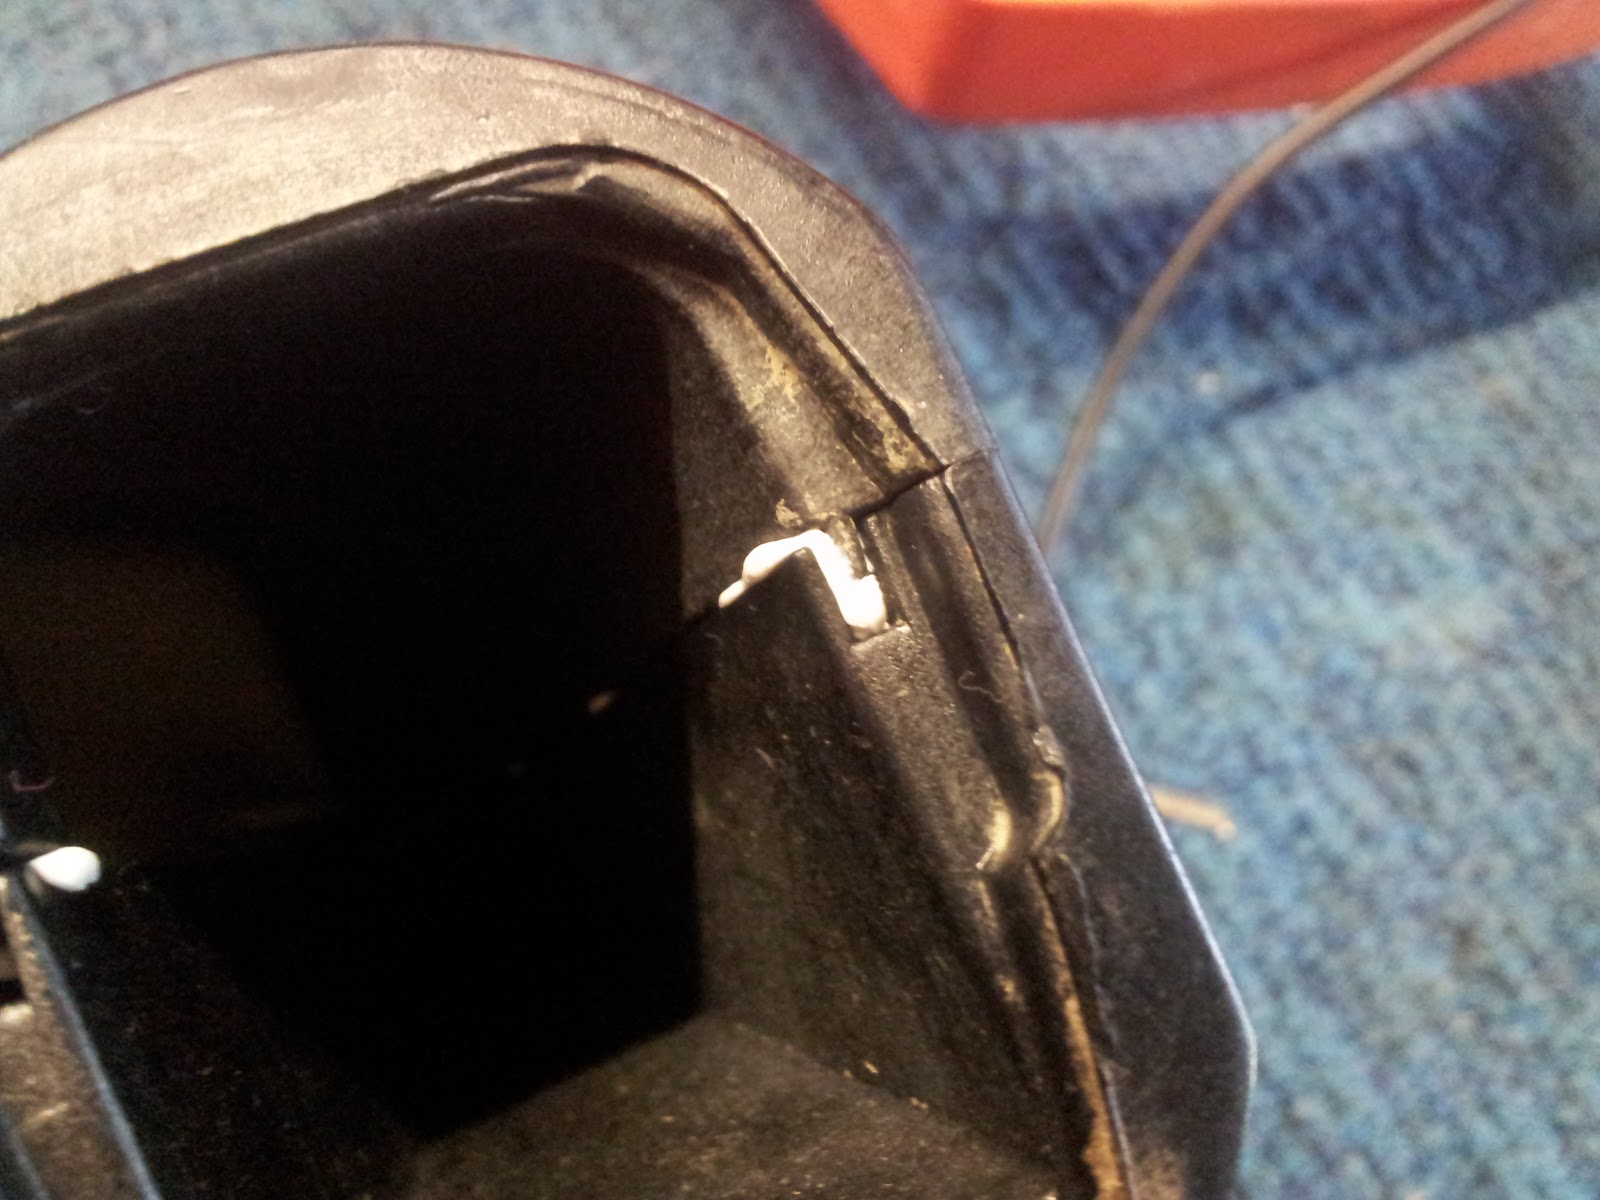
Hood was removed
And some damage showed up. This had been glued before, but had failed
Random clothes peg in the bottom of the bag
The bag fill tube is secured by 2 screws at the bottom
Which screw into these metal threads
More slight damage around the bellows
Manky clips
The bag can now be removed. There are 4 screws to remove, and the whole bag lifts off the chassis. All 4 screws were rusty on this one, further signs of damp at some point in its life.
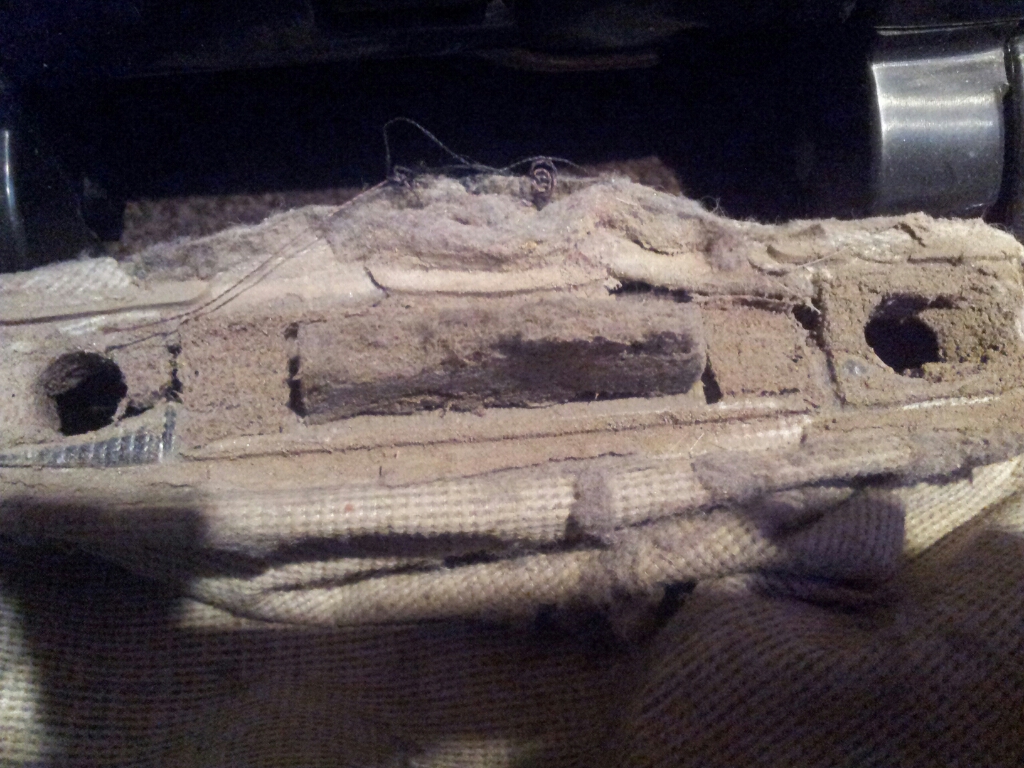
Now we turn to the top of the bag. Turning it inside out reveals the underside of the top mount
2 screws and the clamp splits, releasing the bag fully. The air freshener had been replaced by dust at some stage
The bag turned inside out for a quick vac to get the worst off
Turbopower Plus comes to the aid of it's sibling
With that all out of the way and awaiting proper cleaning, we can start on the lower assembly. The photo's become sporadic from here as I could only work on it here and there, and forgot on occasions...
Unplug the connectors from the motor, noting their orientation
Up at the switch on the handle, remove the two screws and cover plate, and un-do the connections.
Remove the centre bolt and the handle will split into two sections.
Be under no illusion that this is a clean job, above is the progress and the mess so far..
The bag chassis is held onto the bottom chassis by 2 pivots, with 2 half-moon clips screwed over to hold the hinges in place. Remove these and the top chassis will come away. Pull the wires through and remove them.
The front wheel carrier can be removed now. Remove the metal spring, then lift the wheels up vertical and pull them out when the flat notches line up. Remove a circlip from one side and the wheels will come apart to clean and oil the metal axle.
The motor can come out next. Start at one end, and pull until one side comes away. The rubber mounts make this quite stiff, so persevere.
Motor removed. Cut the cable-tie securing the bellows on. A new one is needed for re-assembly
The empty bottom chassis. The rubber bumper pulls off to be cleaned at this stage
Some more damage, the fix had worked on this one however so I left it alone.
The wheels had two different kinds of circlips on them
The bag was soaked in a hot water and washing powder solution for a few hours
Then rinsed off, and washed in the washing machine at 30 with fabric softener and a black load of washing just in case!
All the other plastics were washed and dried in the usual way. Whilst it was drying I started on the motor
Un-screw the 4 screws and the motor will seperate, leaving the armature one side and the field the other. The carbon brushes will ping out, remove those and put aside for now. Grip the armature and turn the fan anti-clockwise to remove it. Remove the spacer washers from the spindle under the fan. Pictured is the correct orientation
Reference picture of wiring
The split motor
You want to remove all this crud, and then clean the tiny fan very well to bring good airflow back
The armature sits ontop of a spring, which has an oil washer and a retaining washer. Pictured in order (sorry for the blurry shot)
Carbon brushes are low but have life left in them yet.
Clean up everything. Due to the bearings you cannot wash the plastic housings, and although you can remove the bearings it is easy to damage them, so I left them in, and cleaned up around them. A few drops of oil went into the bearings to keep them happy.
Assembly is the reverse of the stripdown. A tip I found however, is once it is all screwed back together the motor may be difficult to turn. A sharp tap on either end using something soft (I tapped it against the carpet) seemed to align both ends and the motor spun freehand as it should.

The clean, but very swirled plastics.
I dug out a new air freshener disk in my favorite flavor

And re-assembled the top of the freshly laundered and dry bag. Turn the bag inside out for this

Activator was re-assembled after cleaning and lubrication of the bearings.

I then sealed the motor up. The fan chamber is an interference fit, and leaks a slight amount of suction. To remedy this I use silicone sealant to fill the gap

A thin bead around one side

And clamped together it makes it airtight. This does mean that you have to clean it all off and re-do it if you need access to the fan, but I use the machine so rarely this isn't a problem.

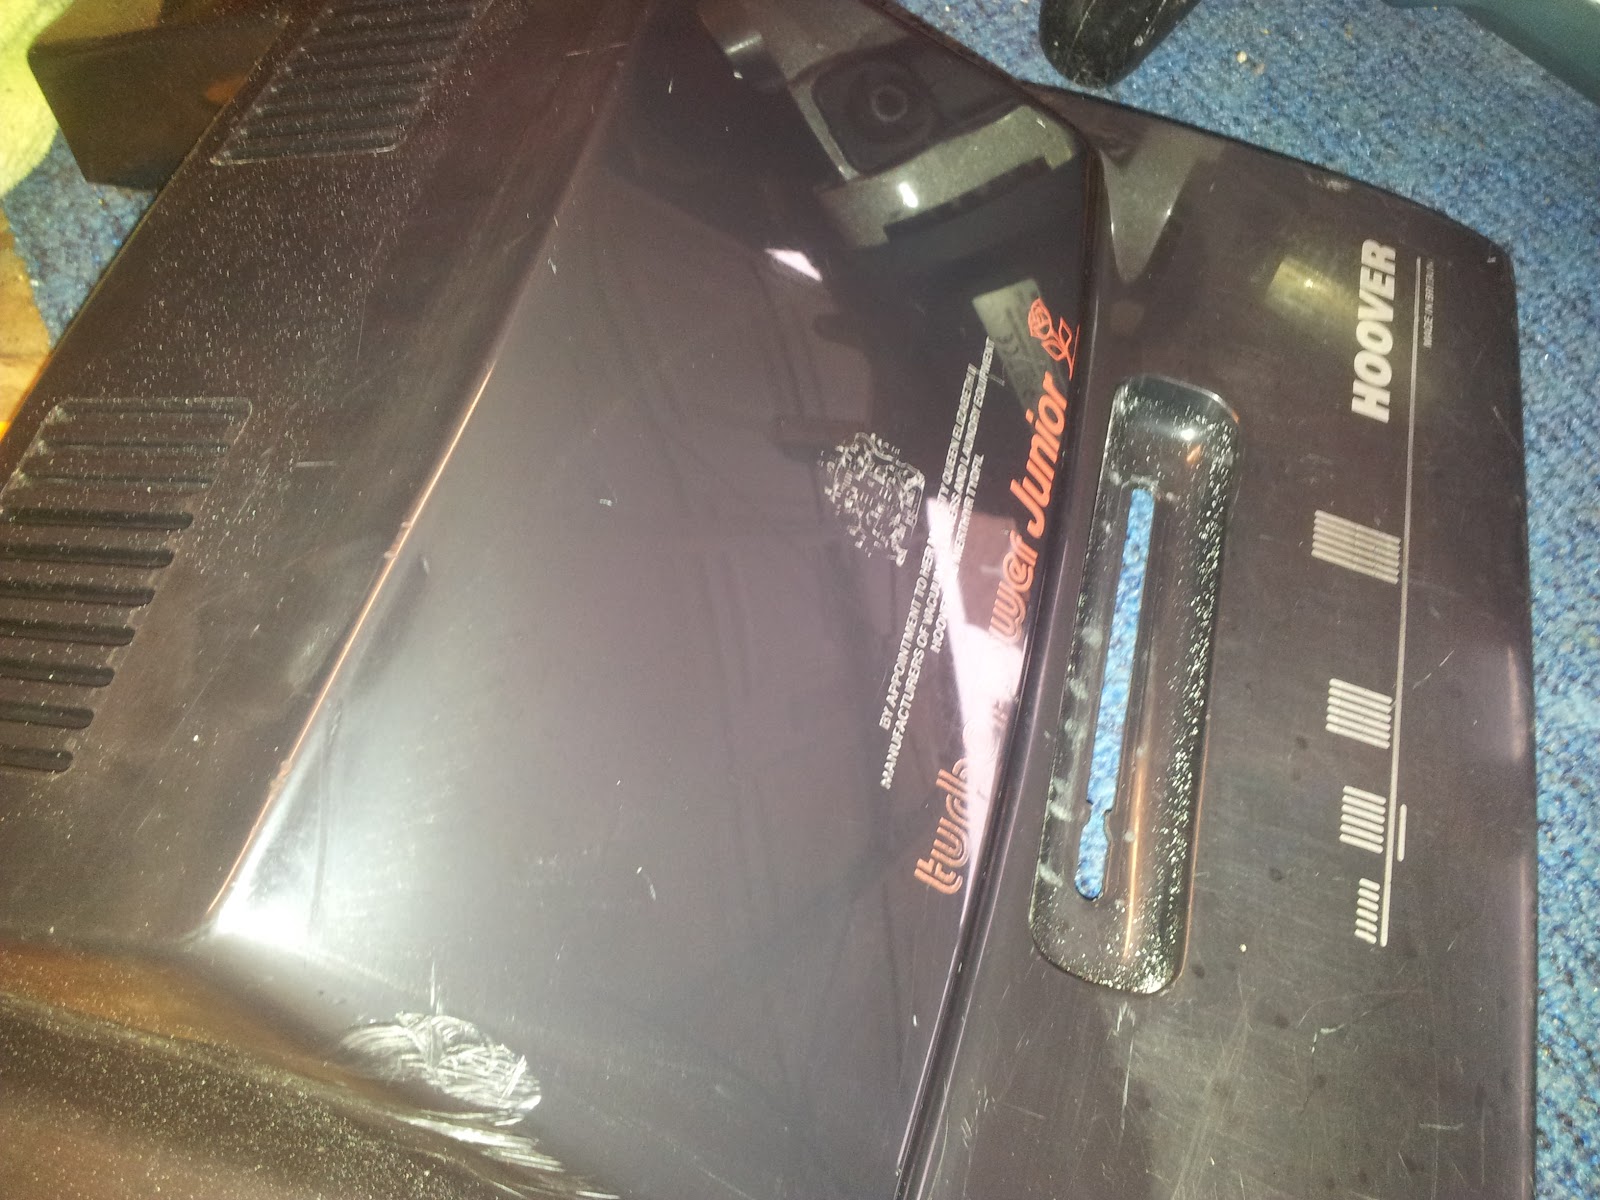
I tried to make the hood look more appealing


So gave it a polish


And a wax


Shiney. Be careful with the decals however as the polish will whip them off quicker than you realize. I aimed for a gloss enhancement, and removal of several large defects, but left the little swirls and scratches alone so to not damage the machine even more.
The cosmetics done, it was time to re-assemble. I glued all the broken bits together, and re-inforced the repair so it doesn't crack again. I studied the machine and filled any hairline cracks with glue using capillary action to stop the spread. It seems this plastic shares the brittle tendencies of it's red counterpart.

Re-assemble everything, making sure to smear a drop of oil on the rubber seals to future-proof them. Run the cables through the hinge holes, re-fit and cable-tie the bellows on and it's done!

The small hole in the bag was fixed by tucking it under the housing before screwing it up, so it is well hidden


Another lovely addition to my collection. Now sadly boxed away for safe keeping and to make room, but one day she will clean again!


Comments
Post a Comment