
Miele S716 - Stripdown and Refurb
I traded this with a DC04 Constant Max I had, and set about refurbishing it


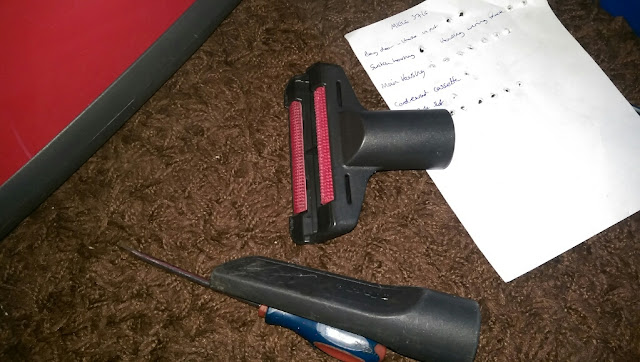
The small tools were first


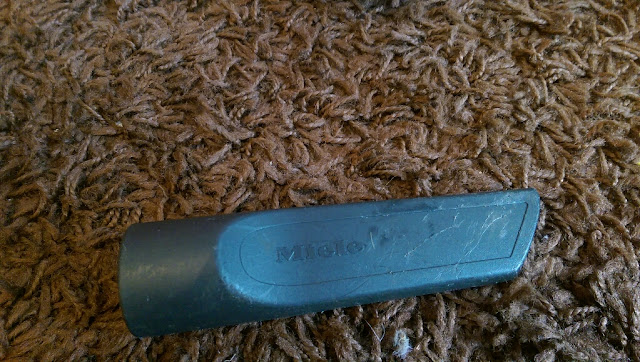


They were certainly used, but not beyond use.
Hose next

This style of floor tool is horrible to get apart and then back together again. My S5510 had one that I tried with. So this got left alone, apart from removing the litter pickers for washing


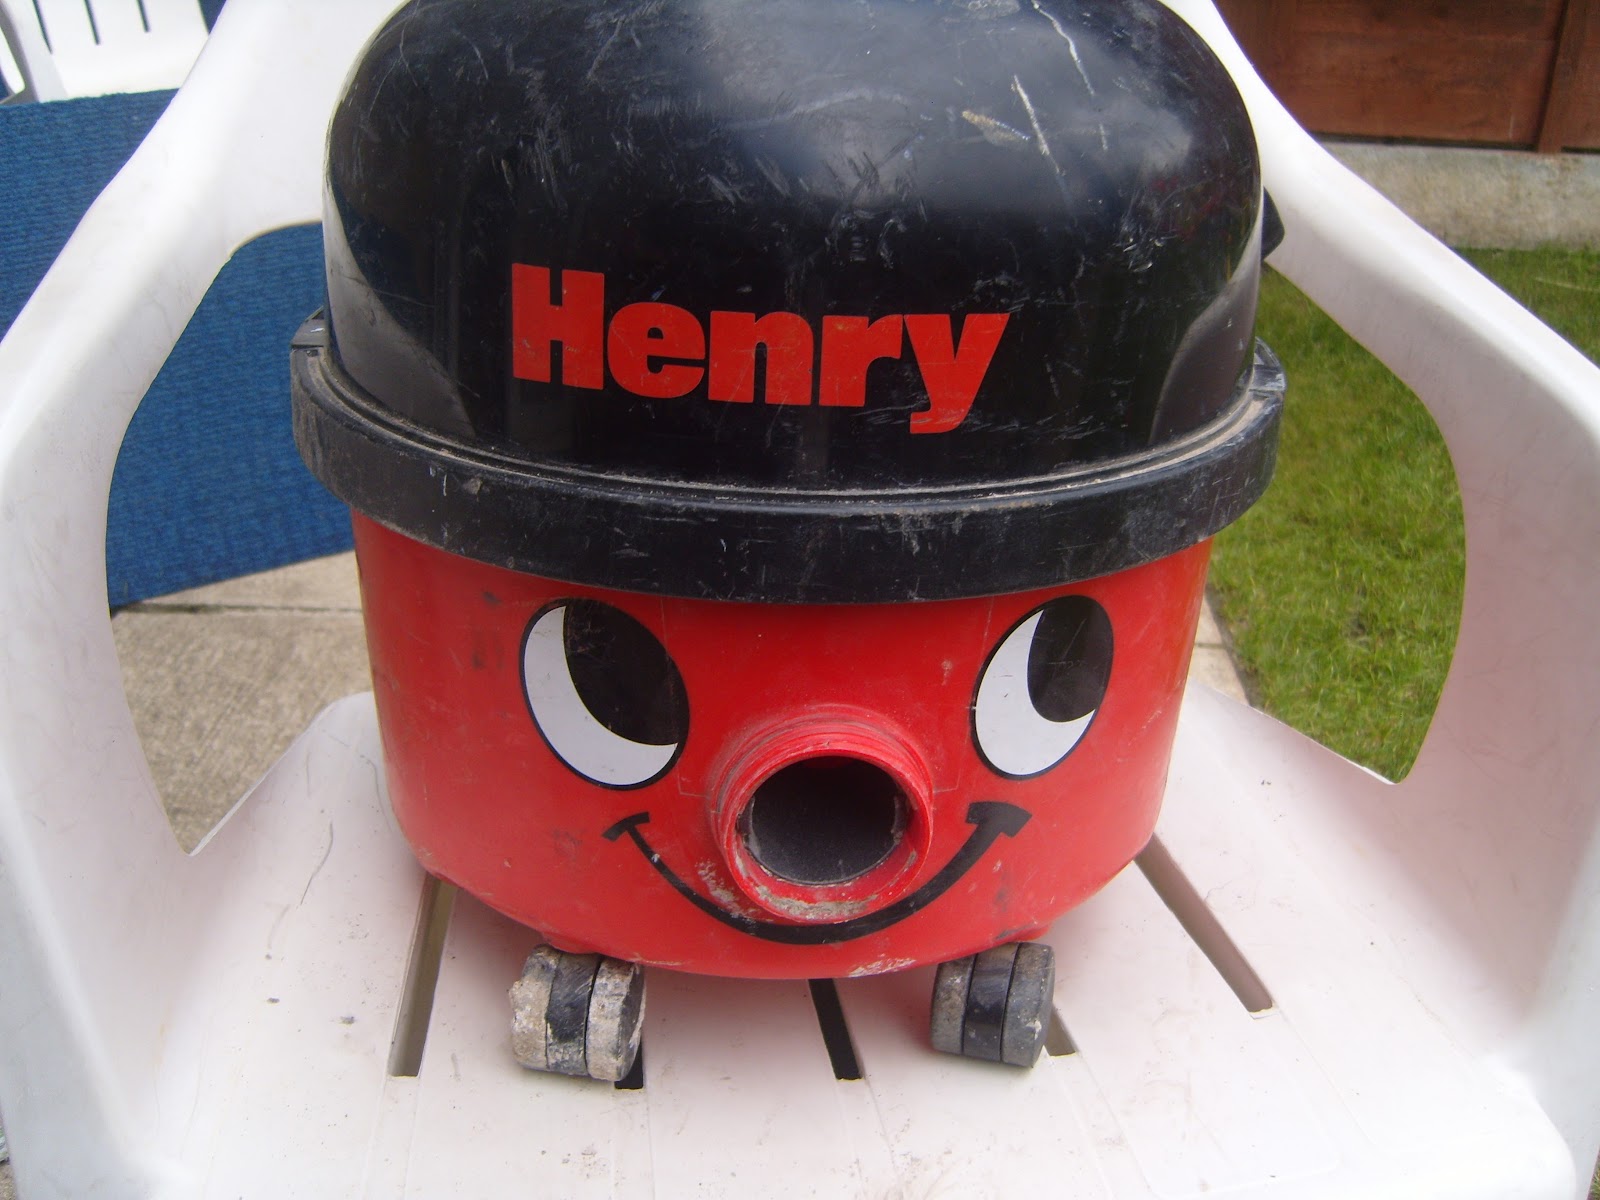
Done, onto the main machine


Lift the tool door

and lift it off it's plastic hinges

This spring is what makes it lift up when you release it, it just pulls off each end of the clip

Next, we need to remove the filter

This machine has an Active Air Filter fitted, which was spotless so I kept it


Time to remove the bag door now. It is held either side by these black pegs

The one by the power button lifts out and slides off the locating peg on the bag door

The side by the cord rewind however does still lift out, but contains the plug and wiring for the electro brush connection.

With that plug removed, the bag door is seperate from the main machine

On the top of the bag door is a black cover, which hides the wires

We now need to remove the hinge bracket

This is done by rotating the backet until the locating lug lines up with the cut out in the bracket

Once it is lined up you can remove the end where the wires exit from it's molding on the bag door

I could not figure out how to remove the wires from the plug, so left them alone

and attached it all from the other end, and removed the hose entry assembly, which revealed a plug

This is the end that the turbo brush wiring plugs into

The plug splits apart this end, and the wires can be removed and fed through and out of the machine.

This is the hose entry assembly. The black vanity ring pops off the top, and the rest of the housing unscrews from behind

Removing the hose entry gubbins also releases the bag indicator.

as well as the bag door opening latch.

There was a pattern bag fitted

but the Pre Motor filter was not too dirty

The bag holder pulls out of the front of the machine
 and the pre filter cage pops off from it's lugs


The best way to see the history of a vacuum is to look at the motor fan. This was very clean, and doesn't need washing

On the back of the motor sits the thermal cutout module. Dust this off/clean with contact cleaner to ensure it won't make a false reading

The motor housing seal lifts out

As does the bag door assembly

The cord rewind assembly lifts out, and the cable need's plucking from it's holding places


This pipe forms part of the release valve assembly, and connects to the main chassis and cord rewind assembly

The release valve sits here, and slides up and out

and splits apart easily

The furniture bumper pulls off the lower chassis

The 3 wheels pop off their pegs, and the wheels pop out of the housings

The wheel holding brackets can unscrew now

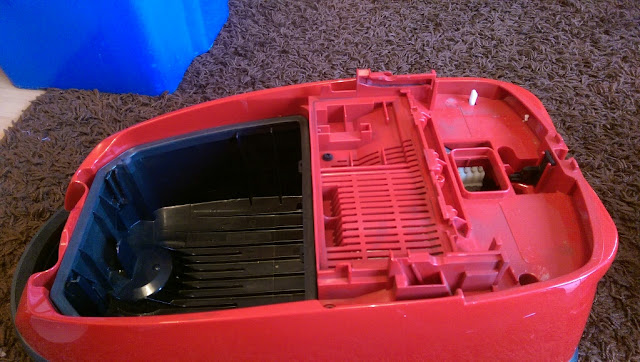
All the screws on the machine, right here! Everything was washed, dried and polished, the red plastics buffed to a very good shine with the machine polisher


I put the motor back in first

Then the cord rewind

Motor compartment seal

Bag compartment seal

Bumper on

Release valve went back together

and slotted into place

The side parking slot was popped into place under the bumper and screwed down

Release valve pipe fitted

And the middle housing fitted

Much shine!

Turned over now, and the wheel brackets are screwed in

The wheel holders fitted

Wheels fitted

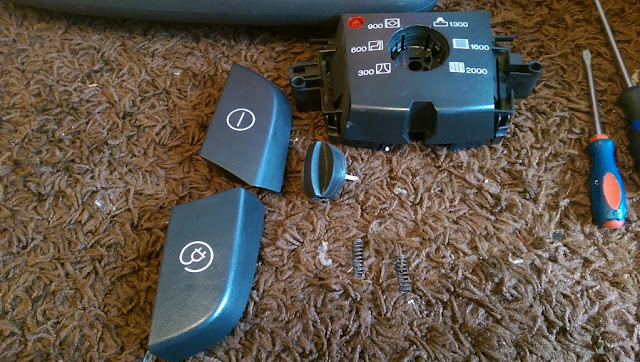
Time for the control panel assembly to go back together

Wiring screwed up

and screwed down
The bag door is wired up and the wiring cover fitted, as well as the hinges

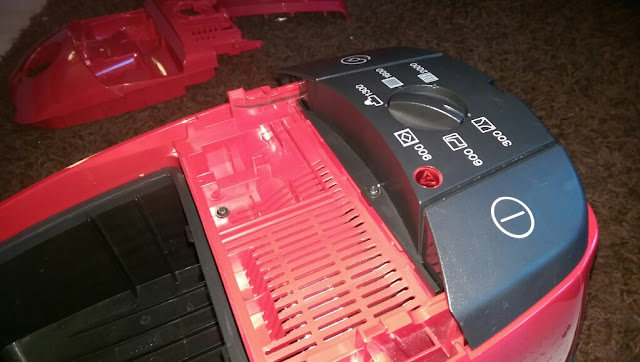
Bag full indicator and hose inlet fitted and screwed down

Cover plate fitted


Fitted!

Tools back together now

And fitted to the machine

Post motor filter fitted

And the tool compartment lid fitted

I gave the floor tool a little polish


Comsumables time!

Pre motor filter

Bag holder

Nice new bag

Air Freshener


And she is done! It came up lovely. Sadly, once it sold, Parcelforce decided to not deliver it, but loose it. After 3 months of conversation I got all the money back that it sold for, so did not end up out of pocket, but it's a damn shame, as the new owner was looking forward to it.
Hey ho, you win some, you loose some!


Comments
Post a Comment