
Restoration - Philips P60 Main Cleaner.
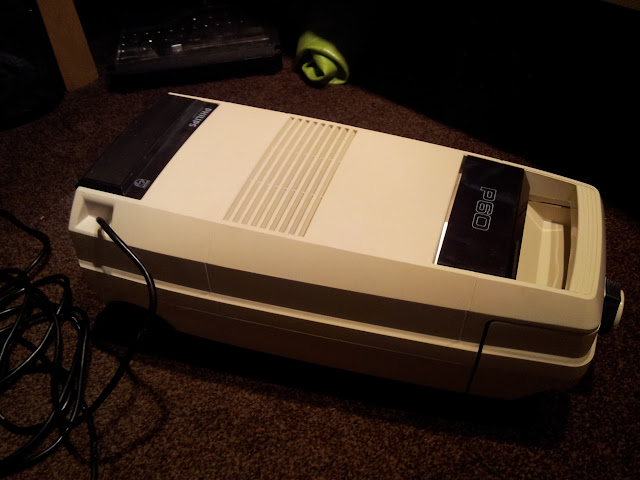
The car boot fairies were smiling upon me last weekend, when I saw a ruined looking Philips P60 sitting by a stall. Wandered off to have a look, and it found it's way into my hands.
Thanks to the good people at Vacuumland, this is from the early 80's, and was a bottom of the line cleaner, retailing at about £40. Rarely seen now apparently.
Anyway...


 The foam seal was so perished that when I approached it with another cleaner to get the dust off it shot into the bag in a million pieces of foam.
 I quarter filled a DC14 with this!
 The hose, still yet to be cleaned.
 Luckily the tape wasn't hiding a crack.
So, onto the dis-assembly.

 Push the two plastic pins out, and the bag door lifts away.

 remove the hose clip

 4x Philips (!) screws and the casing separates.
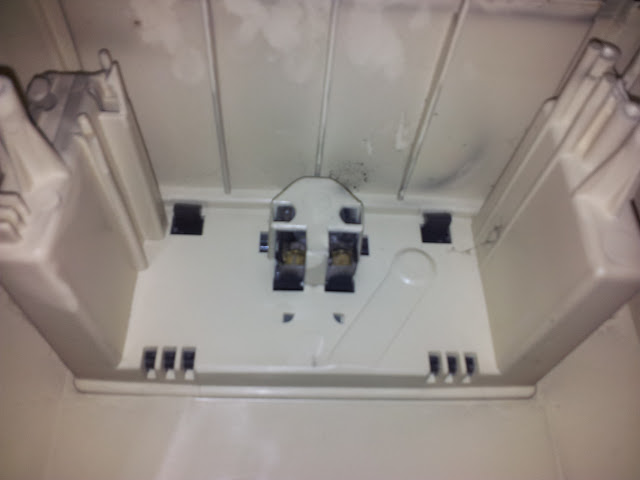
 Reference shot of the switch wiring.
 and one of the connector and RF thingy. The RF thingy is exactly the same that crumbled off my Electrolux 414, of the same vintage.
 Removed the cable clamp
 Reference shot of the mains wire polatiry
 Wonder if this is the original cord, and these have been crimped at the factory?
 Remove the seal. A second piece of foam bought it. New piece was glue'd back in when I re-assembled it.
 Popped the bag door latch off next. This cleaner is so simple it's great! The only moving parts are the wheels and motor!


 Bad picture of the small rod used as the spring
Pushed the switch out from underneath, and un-hooked it from the rear.

 The switch lifts out of it's moulding.


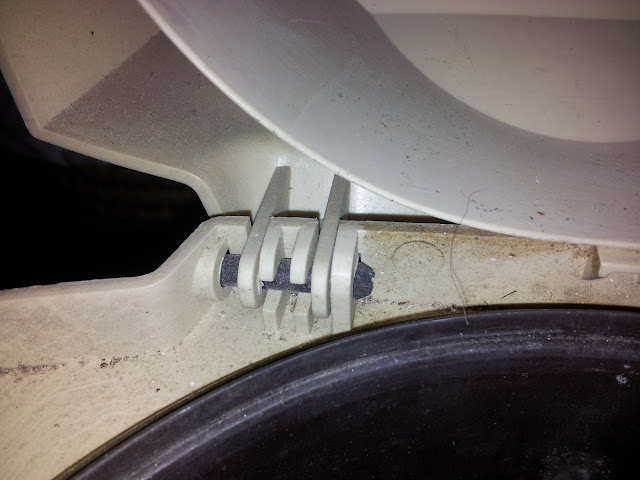
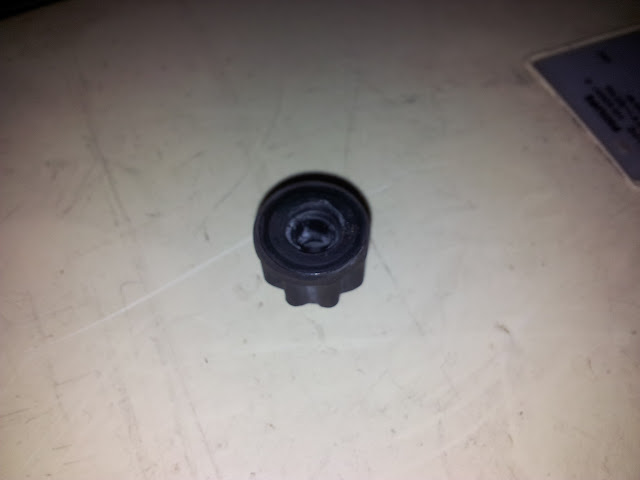
 This is the spring for the pedal. Slides out.

 What it looks like now.


 Wheels next


 Case Screws (long), Motor housing screws (short)
 The motor is removed!
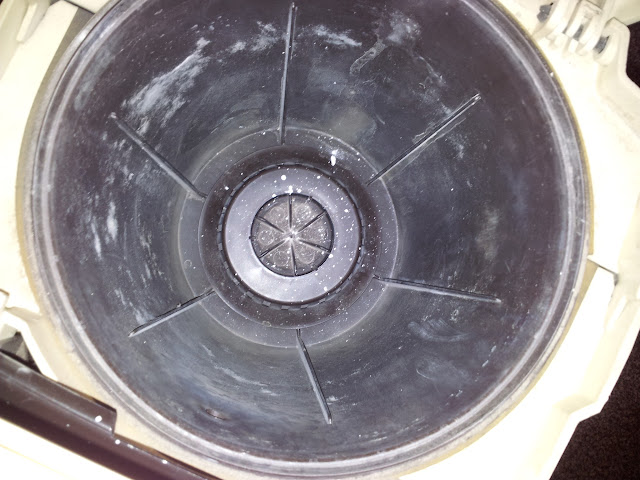
 Underneath the motor

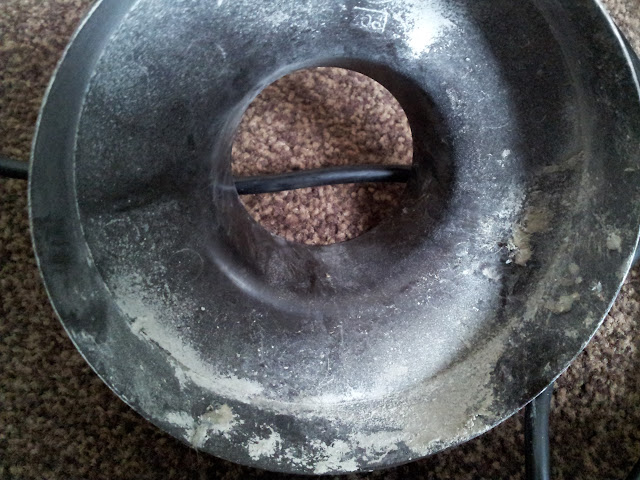
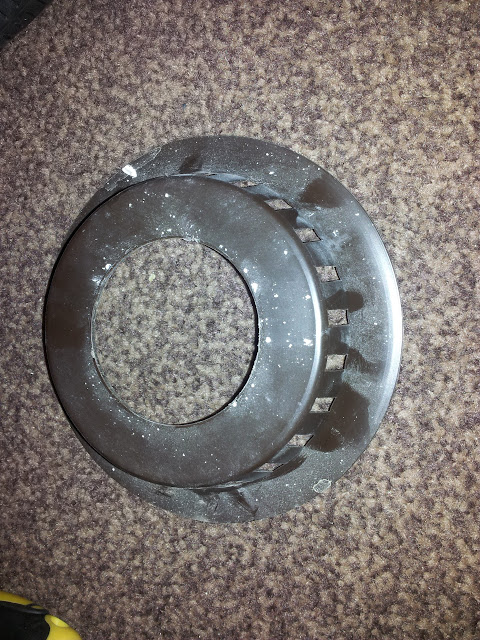 This diffuser clips on the base of the bag compartment.

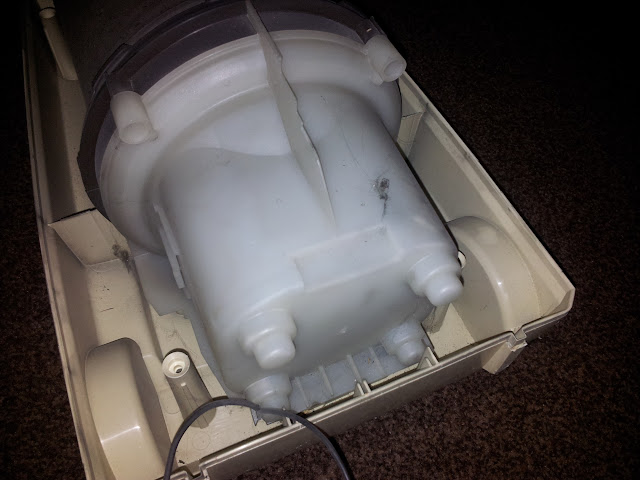
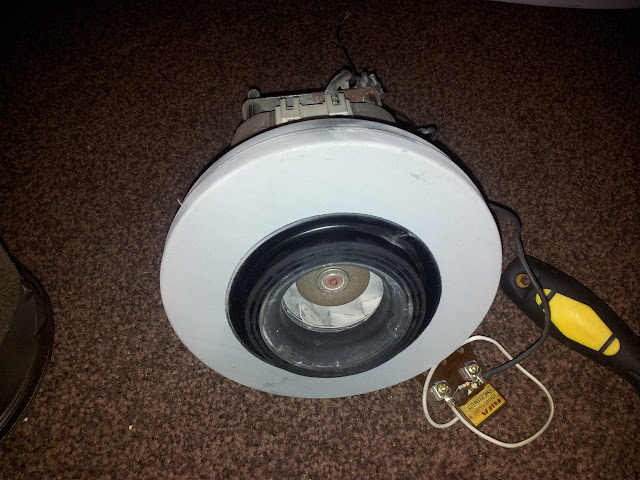
 The motor casing

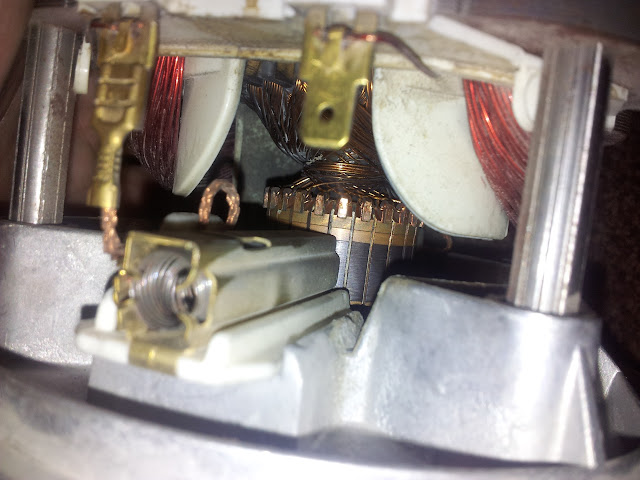
 The throbbing heart of the beast
 Coded the terminals for re-assembly

 Random view


 Tried to get in to the motor, but it's pressed on I think. Best I could do was a small squirt of 3 in 1 on the bearings


 Mounting rubber


 Identifier Tag
 Commuter. May experient with a commuter stick and see if it cleans it up at all. She runs well anyway, so may just leave it!

 Inside

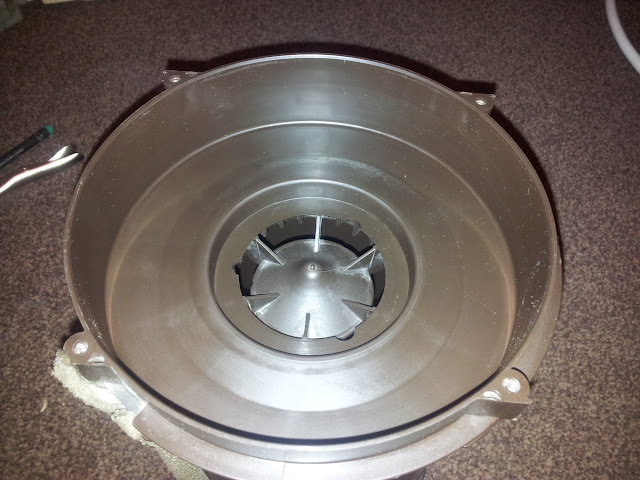


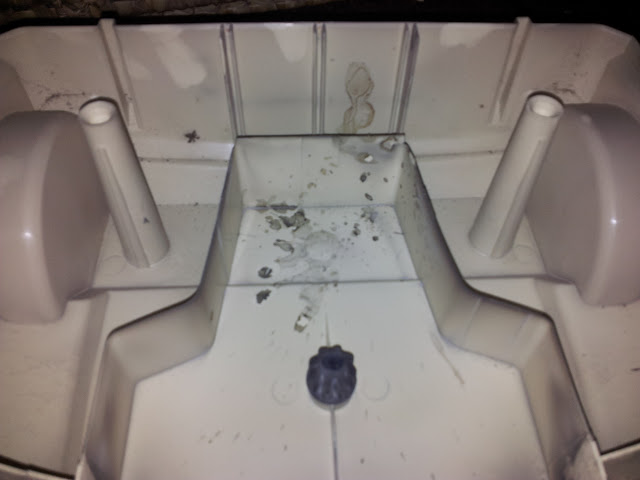
 This is what the sponge seal was attached to. I cut out some sponge and glued it on.

 Placed the motor on the bag compartment.
 Pop the bottom seal on
 and the switch
 and the wheels
 Placed the motor assembly onto the base


 Clip the centre wheel in
 and screw the rear wheels on


 Hope you enjoyed!
Sam
Thanks to the good people at Vacuumland, this is from the early 80's, and was a bottom of the line cleaner, retailing at about £40. Rarely seen now apparently.
Anyway...
The last job this poor cleaner did involved plaster dust, and alot of it! I had to pop the hose onto the miele just to get the dust out and stop it billowing out every time the hose was moved!
So, onto the dis-assembly.
Pushed the switch out from underneath, and un-hooked it from the rear.
Lift that clear and the bottom casing is revealed...
Took the second seal off, removed the motor support rubber and the front wheel.
I turned the motor and bag chamber over, and saw this big piece of foam. It was stuck down well, and I couldn't wash it with the rest of the plastics, so I had to hand wash this part.
Wiring (this is all of it!)
Tapped the fan shroud off, but couldn't strip it any further, as rather than a bolt it was a rivet!
Quick check of the carbons
Cleaned the bag housing by hand to keep the foam. Gave the foam a light vac with the Miele on low to get rid of the dust.
I cleaned all the plastics with CIF spray, a small paintbrush and the shower on hot. They then got deep cleaned. I used:
Dodo Juice Lime Prime Light to clean the plastics
Menzerna Final Finish by hand to remove the scuff marks and get rid of the paint flecks
Autoglym Super Resin Polish to hide some of the marks .
It then went back together.


Finished shot of the top


Connect the wires up to the switch


And the afters!


Popped a paper bag in, as should have been done in the first place!


and a beige duo.


Sam


Comments
Post a Comment